A staircase is one of the most used places to hang pictures, and it often ends up with the ones you don’t particularly love, or look at, or have room for elsewhere. But it’s a long wall that you pass several times a day, and it can hold more than most rooms. It’s also one of the easiest walls to get wrong, because the slope makes everything look slightly crooked.
Here is how I hang pictures on a staircase wall before a single nail goes in.
Start on the floor
Lay the pictures out on the floor in themes such as animals, abstract art, landscape, colour, or type of frame, for example gold or black. Think of all the paintings as sitting within an invisible frame, and move them around until you can see that there is balance between them, as in a collage. Each set of paintings then has a clear theme and gives the wall a punchy focal point.
Take a photograph of the layout so you can refer back to it.
Hang pictures on a staircase without the flying duck
The thing I dislike most on a staircase is pictures hung diagonally up the wall, one after another, in what I call a flying duck position. People are on the stairs to go up or down, not to stop at each step and appreciate the paintings.
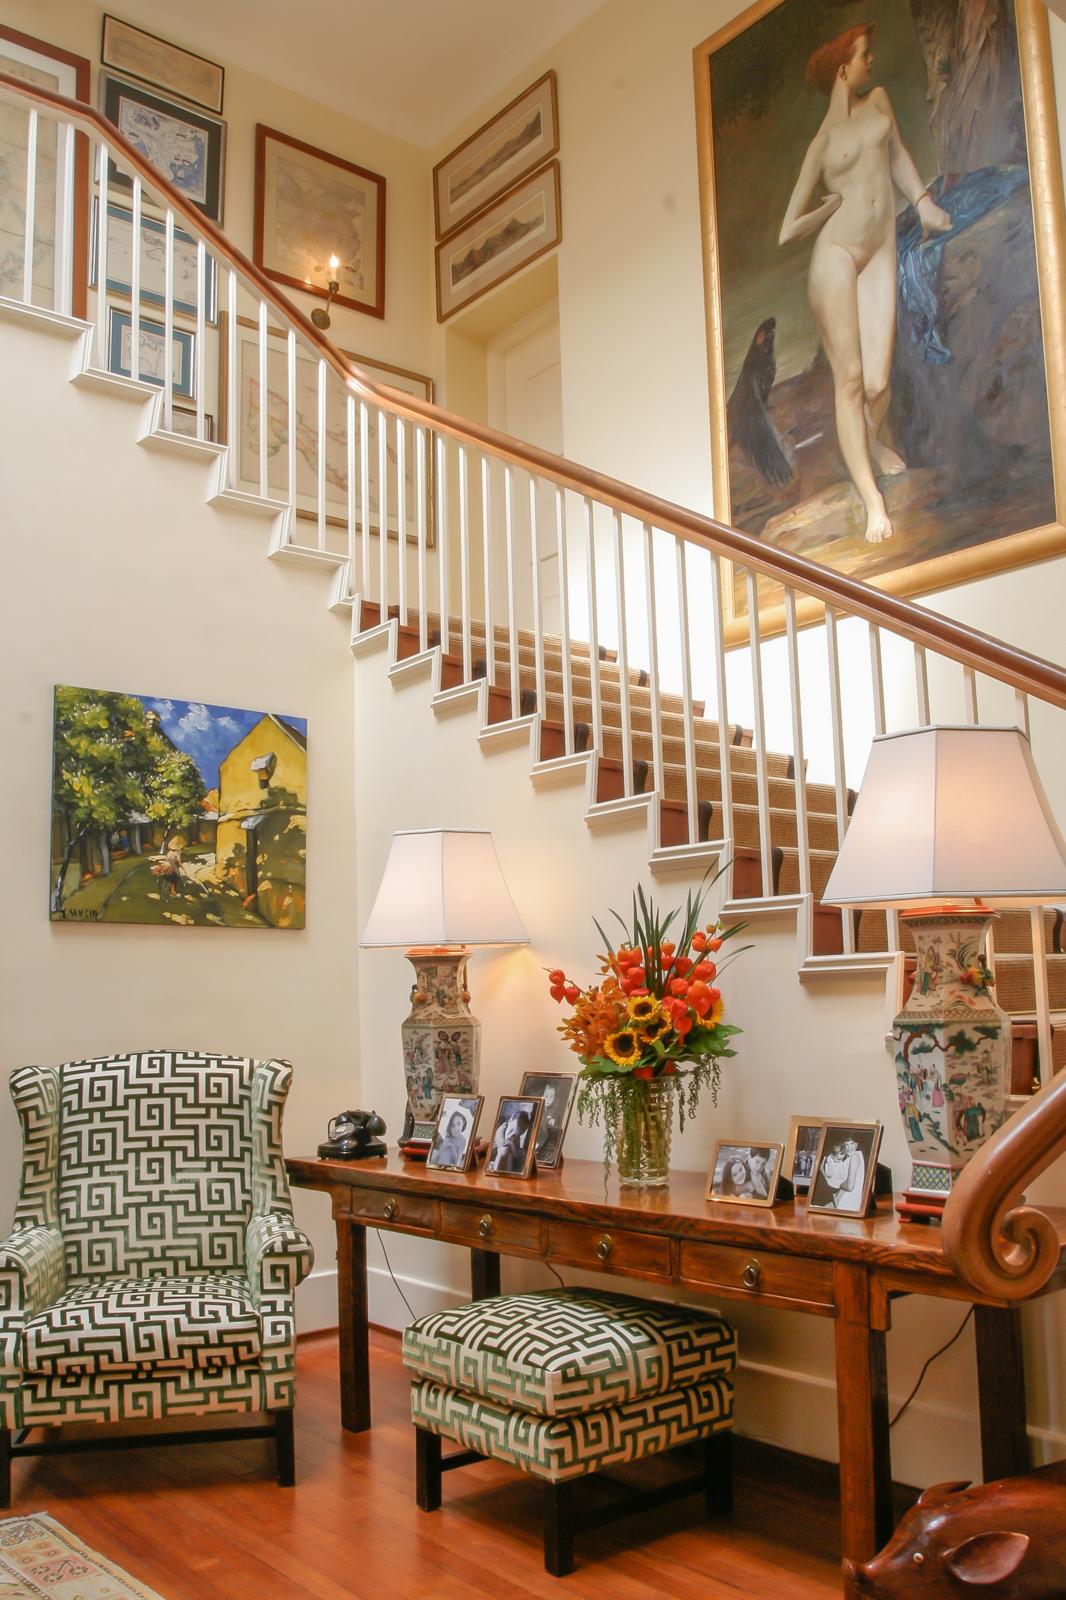
For the paintings to be noticed, hang each group as laid out on the floor, and put a second set further up the stairs if you can make another grouping. A layout like this draws the eye because of its drama. The best places for these groups are where you naturally pause, such as the bottom or top of the stairs, or on a landing.
Pick the right height
Aim for the centre of each group to sit at eye level, but it is better to lower the group if the highest row would end up too high. The lower paintings will be seen as you go up the stairs, perhaps even more. I have known paintings to be hung down to the skirting board, and this is very dramatic.
Keep the gaps even
Choose one gap between the frames, between 1 and 2 inches (2.5 to 5cm), and keep to it with each painting. Even spacing makes a mixed collection look planned, and should be seen almost as a painting in itself.
Use what you already own
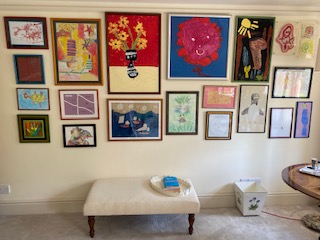
You don’t need to buy pictures. Small prints, a map or a piece you’ve been meaning to hang can all go together once you group them by theme. Brought together on one wall, they get far more attention than when they’re hung individually, unless of course there is a special painting which deserves its own space.
Pictures you don’t like don’t have to go on the stairs. Sell them, put them in an album, or hang them in a different room.
For more ideas, see Country Life’s interiors pages.
Keep family photographs together
Take all photographs out of their random frames and choose your favourite ten. Frame them in the same style, such as wood, black or sterling silver. Even a multi-coloured set of frames will work, because grouping the photos gives them more impact. Divide the photos themselves by black and white or colour. Put the chosen photos together on one surface, generally in the drawing room, such as a side table or shelf. If they are scattered around the house, nobody looks at them.
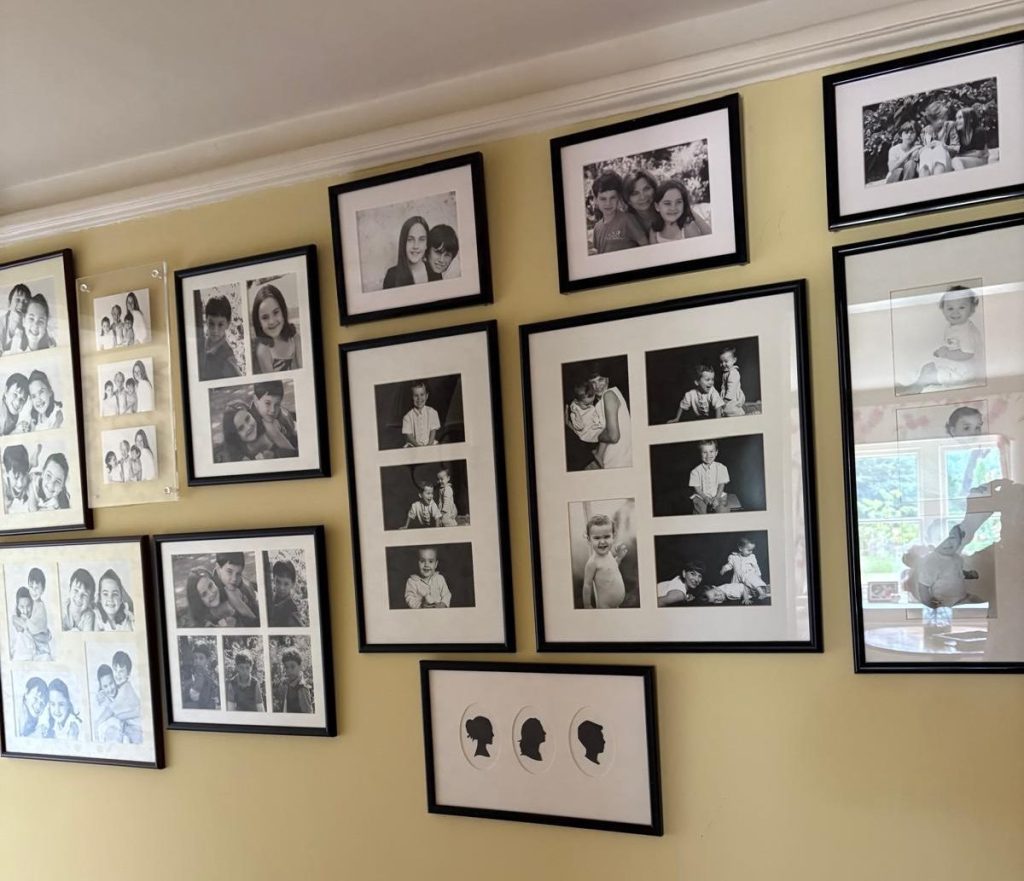
Buy an inexpensive self-adhesive photo album, and put the rest of your special memories in it to sit on a coffee table in a less formal room, where people will flick through it whilst chatting to you.
If you’re not sure how to arrange your pictures, I can plan the wall with you. Get in touch through my website.
The thing I dislike most on a staircase is pictures hung diagonally up the wall, one after another, in what I call a flying duck position. It drives me mad. It looks restless, and it makes people hurry past instead of looking at the pictures.